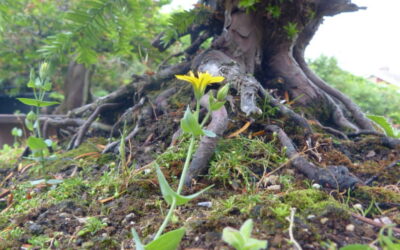
Learn about the value of adding nutrient products to bonsai soil at repotting time. The value of this technique is often misunderstood but should be universally adopted.

Most people struggle with bonsai not because they lack “artistic talent,” but because they haven’t mastered basic horticulture. In my 35+ years of experience, I’ve learned that a healthy tree is the only canvas worth working on.
This section is dedicated to the science of success. Whether you are dealing with yellowing leaves, timing your watering perfectly, or trying to understand the complex world of bonsai fertilisers, the articles below cut through the “old wives’ tales” and give you practical, evidence-based advice.
Learn about the value of adding nutrient products to bonsai soil at repotting time. The value of this technique is often misunderstood but should be universally adopted.

Most people involved in bonsai for any period of time will likely be familiar with Lime Sulphur. It’s that grubby little bottle of stinky red stuff in the bottom of your tool bag that’s used to preserve and colour deadwood and dissolve little paintbrushes. Doing that...

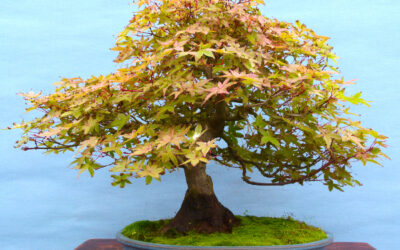
Graham Potter of Kaizen Bonsai shares hints and tips on bonsai repotting technique with examples of recent work he’s completed. Bonsai repotting adventures
So what’s all this got to do with bonsai? Bleeding bonsai, or more specifically trees that bleed when they are pruned. Over the years
This gets a bit long, if you are in a hurry you can skip the preamble…. Preamble - BS for starters Before I get into todays main course please allow me to apologise for the lack of blog posts so far this year. I don’t have a precise explanation for my absence. In...
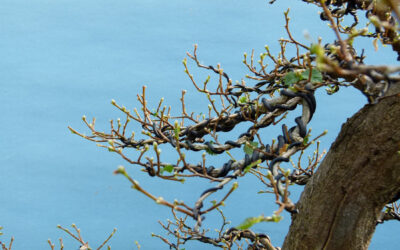
When should you repot bonsai? At this time of year I get a lot of people asking when they should begin re-potting their bonsai. Unfortunately, I can't give a straight answer to a question like that because, as with most things concerning bonsai, it depends upon many...
There are many mysterious techniques used in the world of bonsai tree creation and maintenance. In my experience, many of them are misunderstood and therefore incorrectly applied. In my own case it certainly took a long time to understand what defoliation of deciduous...
When you make that first fateful move and obtain a ‘Bonsai tree’ you take the first step on a journey that just might last the rest of your life. It matters little that your first plant is most likely not bonsai at all. Mine was a sycamore seedling I lifted out of...
Graham Potter’s Guide to Bonsai Watering It's been said many times that I have the best job in the world but I am a 'glass half empty' kind of bloke and find it hard to get too excited about what I do. I typically spend 7 hours a day in front to a screen, a business...

Learning to read your bonsai trees Another daft ramble but do bear with me 😉 In 25 years of being involved in bonsai I do not remember a season with more P&D (pest & disease) problems. This seems very wide-spread in the U.K judging by the number of enquiries...